


Creating Manifest
The first step in creating device is to clearly define its manifest.
Manifest represents a contract between a physical device and ClickCloud IoT Platform. It describes the device and its data and is used by the Platform to interpret the content, so that it can be stored properly, or sent to targeted devices correctly in order to enable connectivity, data collection, device management, etc.
Navigate to the Manifest management button in the Devices screen and click on
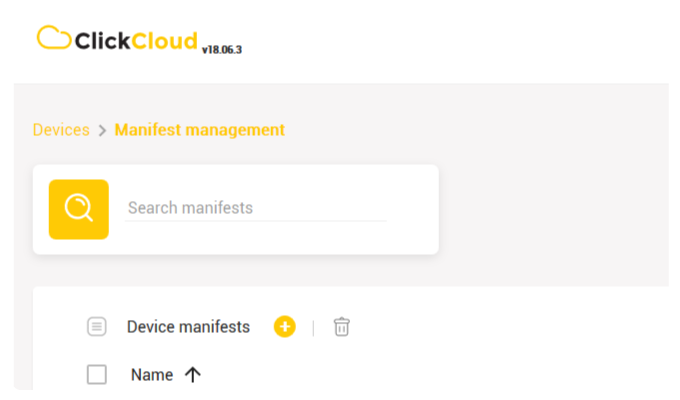
Pop-up will display where you can choose between two options. After you have chosen, fill in the requested fields.

Upload manifest enables you to upload a device manifest to another instance/environment.
- Select the manifest you want to upload to another platform
- Export to JSON
- Open file (However, if you want to upload it to the same platform, you have to change the existing name)
- Click on the Upload icon
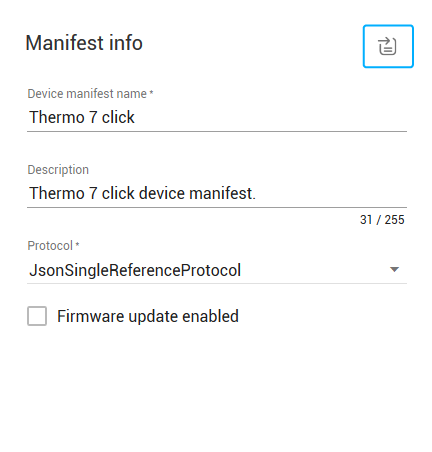
By clicking on From scratch device manifest includes:
- device manifest name (a unique name that distinguishes and describes device)
- description (which will tell you what kind of device it is; for example, temperature, pressure… etc.)
- protocol (format of the message; the available exchange protocols at the moment are: JSON single, JSON multi and WolkSensor)
Each device can include sensor, actuator and alarm.
The next step is to add a specific description of sensors, actuators or alarms in accordance with the device you’re adding.
Note: All created sensors, actuators or alarms can be deleted later in the process.
Adding Sensors
The first tab is Sensors. After clicking ![]() button, you will be asked to enter the following:
button, you will be asked to enter the following:
- Sensor name (descriptive sensor name, e.g. Temperature sensor 1)
- Sensor reference (unique identifier of a sensor on a device used as a ‘contract’ with the Platform when collecting sensor data, meaning that device has to be configured to send data to the Platform with the same sensor reference, e.g. T)
- Reading type (represents sensor’s physical property type). You can select a reading type from a drop-down list, previously created in Settings module. Reading type includes: data type, data size, delimiter. After you select a reading type, data type, unit and data size will be displayed by default.
For more information on reading type feature please check chapter Settings.
- Unit (defines a unit for selected reading type, e.g. °C, mbar, %)
- Data type (defines the type of data coming from the sensor. Depending on the data, select one of the following: NUMERIC, STRING or BOOLEAN)
- Data size (represents the number of data coming from device sensors. Depending on data, select minimum 1)
- Delimiter (a symbol used to separate reading values if the data size is more than one, e.g. comma (,))
- Maximum and minimum values (physical device limitation for data values that can be measured and sent by a sensor)
- After entering all data, click Create
Note: It is possible to add all the sensors that are already on a device.

Adding Actuators
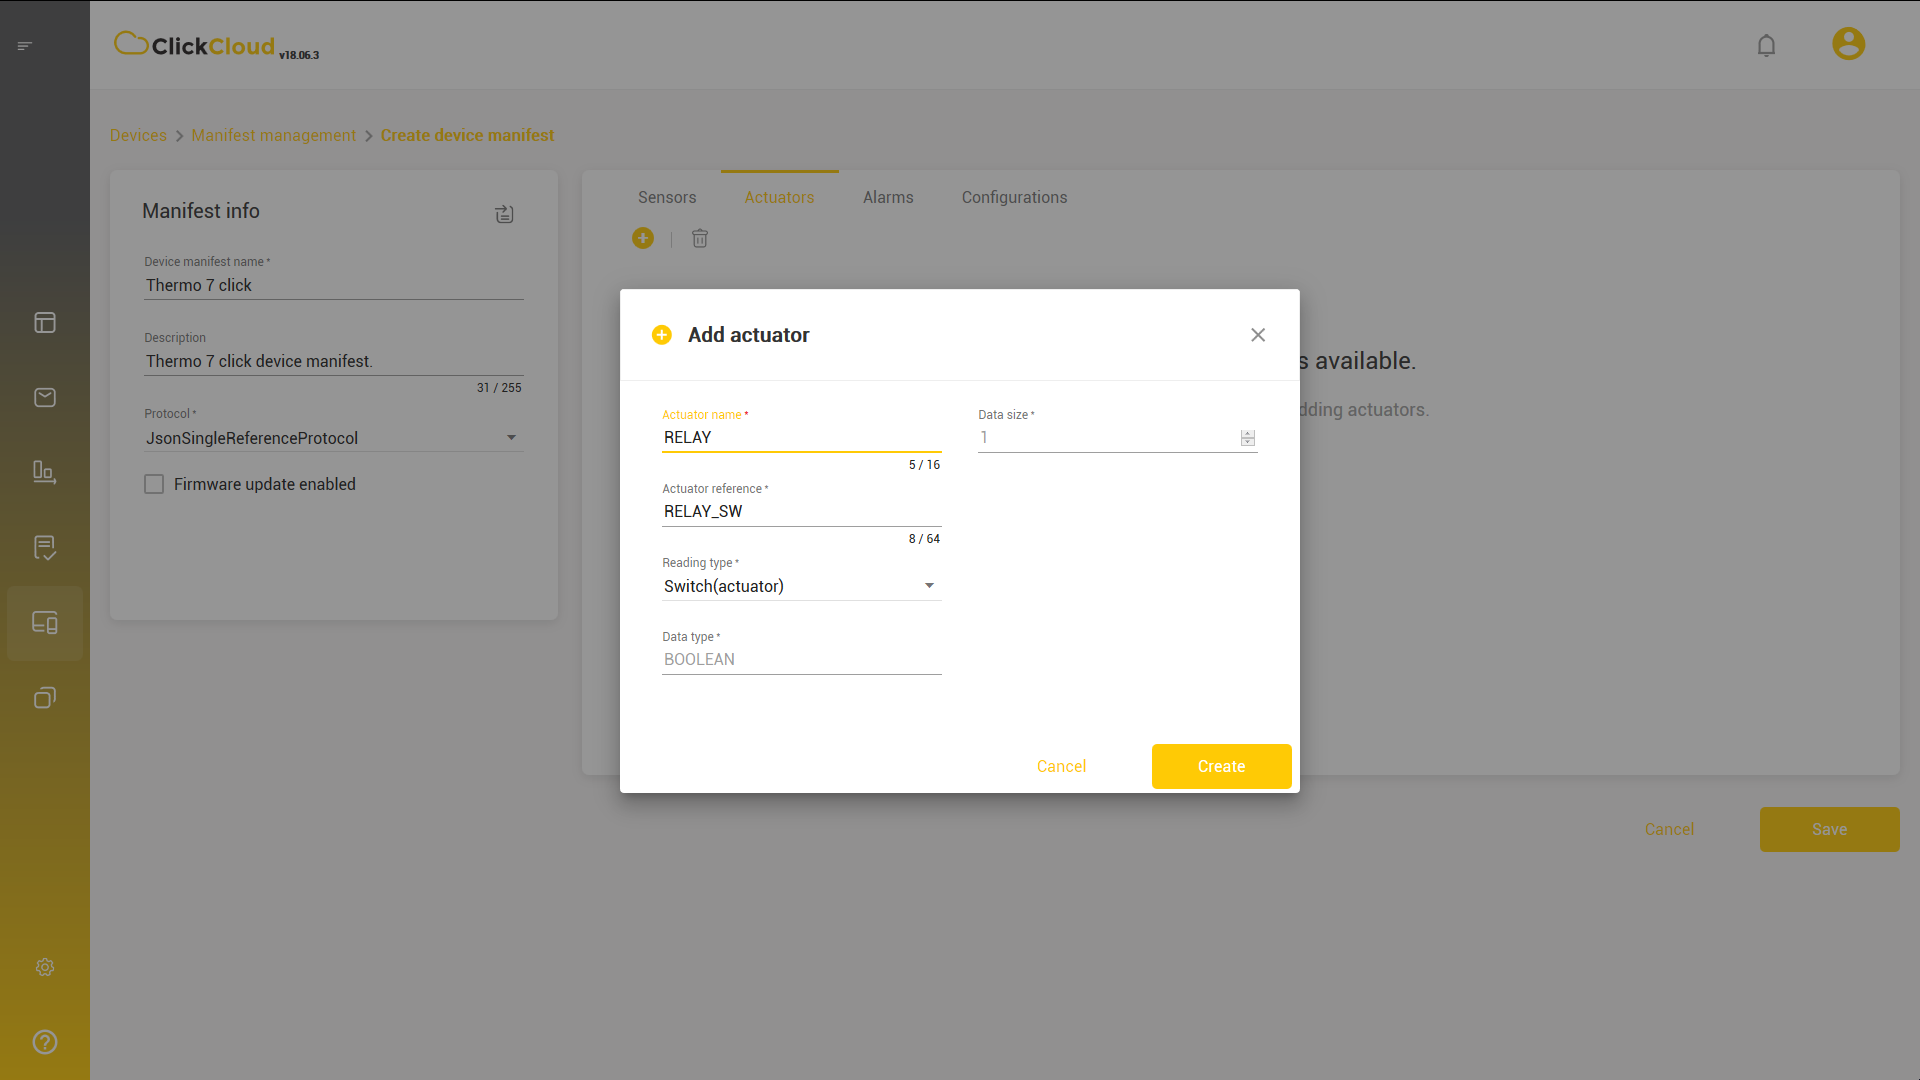
Actuator is a representation of a component of a physical device that apart from emitting data can also receive commands and create a change in the system. To connect the actuator, click + button and enter the following:
- Actuator name (descriptive actuator name, e.g. Air Condition Switch)
- Actuator reference (unique ID of an actuator, used as a ‘contract’ with the Platform when sending commands back to the device, meaning that a physical actuator has to be configured to use the same actuator reference, e.g. SW)
- Reading type (e.g. switch or count for different types of actuator; for example, an ON/OFF switch that may control A/C)
Note: Reading type for actuator is marked!
- Data type (e.g. it can be NUMERIC, STRING or BOOLEAN for a different type of an actuator)
- Data size (represents the amount of data coming from the device actuators. Depending on data, select minimum 1)
- Minimum and maximum values (physical device limitation for data values that can be sent by an actuator)
All fields should be filled in before you take the next step. Note: It is possible to add all the actuators that are already on a device.
Adding Alarms
Alarm represents an occurrence of an event detected by the device. It enables the device to alert the Platform that some alarming situation (problem or specific device condition) occurred.
For example, smoke detection device will send smoke detected alarm when a certain level of smoke is detected - suggesting the possibility of fire. This means that the device is responsible for detecting such events and signalling it to the Platform. Upon receiving alarming event, the Platform will perform actions, such as sending notifications to users or performing custom business rules. Follow the same procedure as described above and enter the following:
- Name (descriptive, recognisable name, e.g. High Temperature)
- Reference (unique identifier of an alarm on a device, e.g. HT)
- Message (represents a short notification of a problem that occurred, e.g. Temperature is above 5°C)
- Description (detailed description of a message; content which will be displayed in Messages)
- Severity (refers to the severity level of an alarm and you can select: alert - state of alertness; error - problems that should be fixed and critical - it requires an immediate fix)


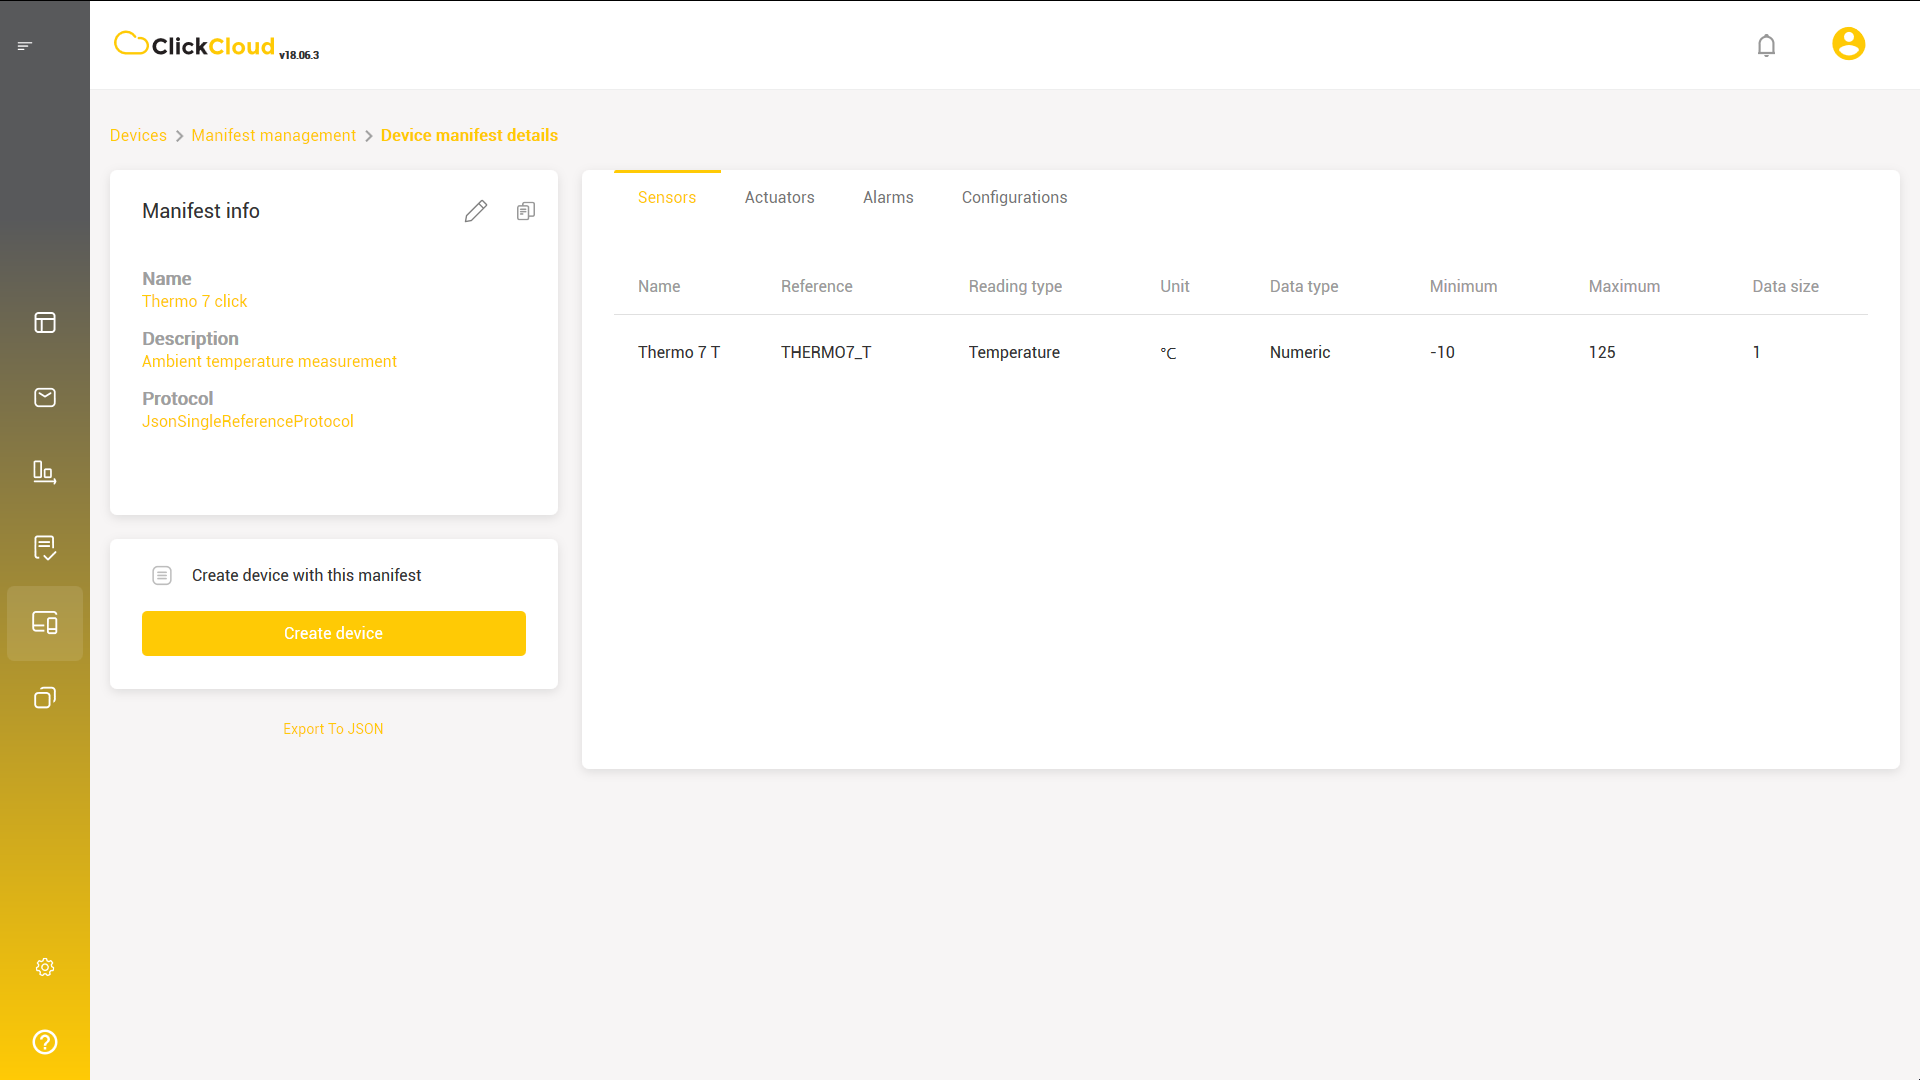
After clicking Save button you will finalise the process, and the manifest will be listed on the Device manifest page.
Add Configuration
Apart from adding all the sensors, actuators, and alarms you have the possibility to remotely configure the device by following the same procedure. Device configuration consists of the set of parameters which will be sent from Platform to device. As a precondition for such configuration, device has to support use of these parameters. Otherwise this feature cannot be used. Click ![]() button and start adding configuration parameters:
button and start adding configuration parameters:
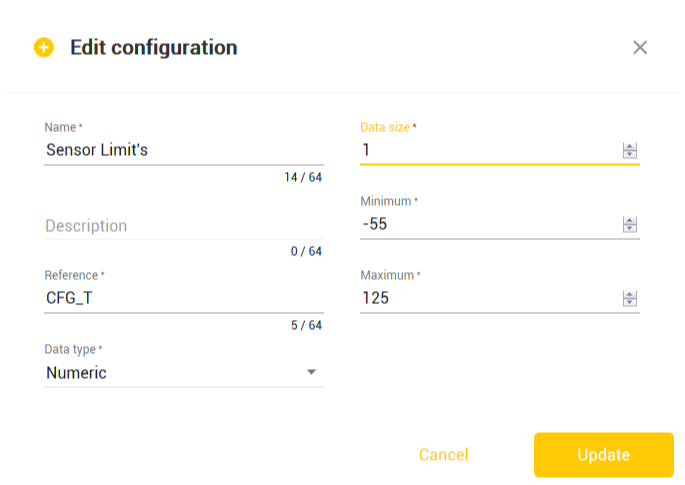
- Parameter name
- Description (giving more details about configuration parameter including meaning and unit if exists)
- Reference (unique parameter identifier for a device used as a contract with the Platform when exchanging data, meaning that device has to be configured to send the data with the same parameter reference, e.g. T)
- Data type (defines the type of data coming from the device. Depending on the data select one of the following: BOOLEAN, NUMERIC and STRING)
- Data size (represents the number of separated data values packed together which coming from the device in one message. If data size is more than 1, delimiter is used (symbol used to separate reading values, e.g. comma (,)))
- Click Create
- Minimum (value used for numeric data type validation only. Defines minimal valid value)
- Maximum (value used for numeric data type validation only. Defines maximal valid value)
- You have created your device configuration
Import Manifest
In the top right corner, within Manifest info, there is an Import manifests button. It is one of the options that enables either importing already populated manifest in order to update (add new references) or to merge two or more existing manifests.
To import manifest do the following:
- Click on the Import manifests button as shown below
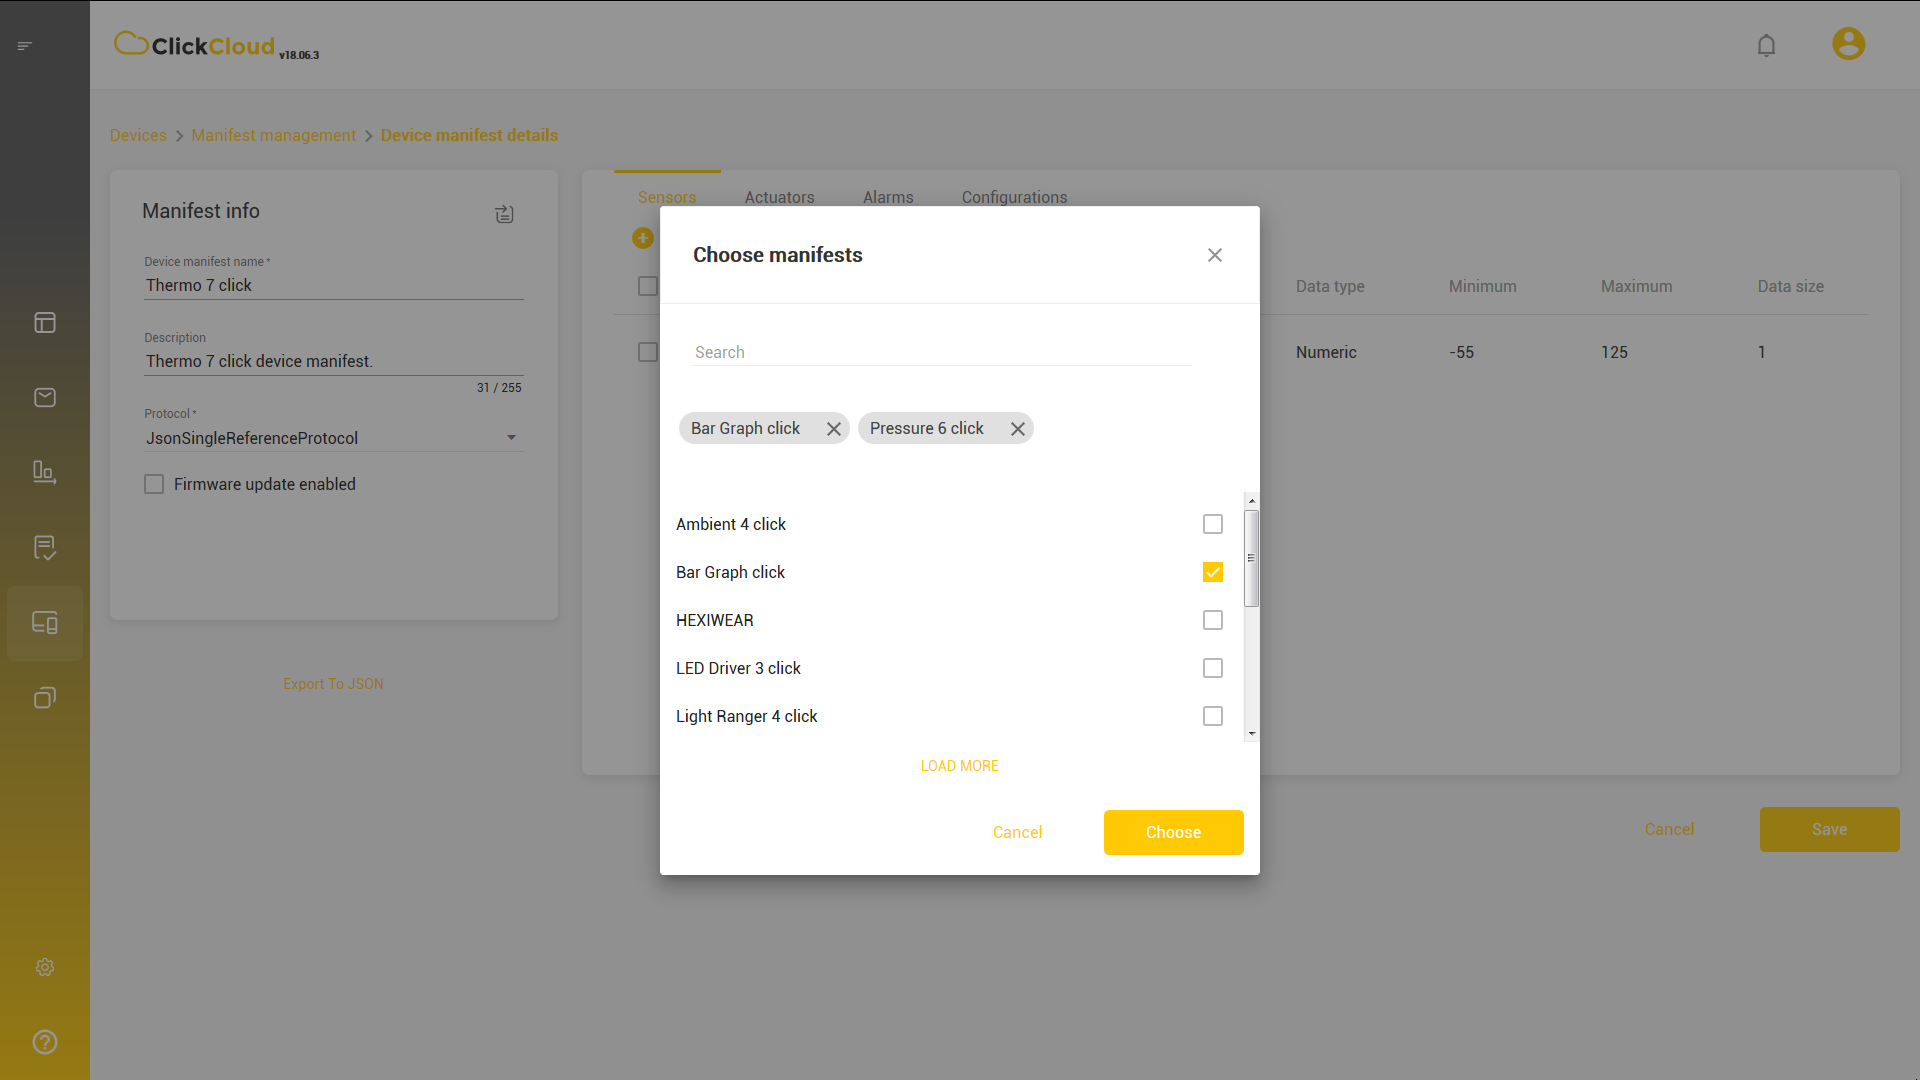
- Within Choose manifests pop-up select one or more manifests
- Click Choose
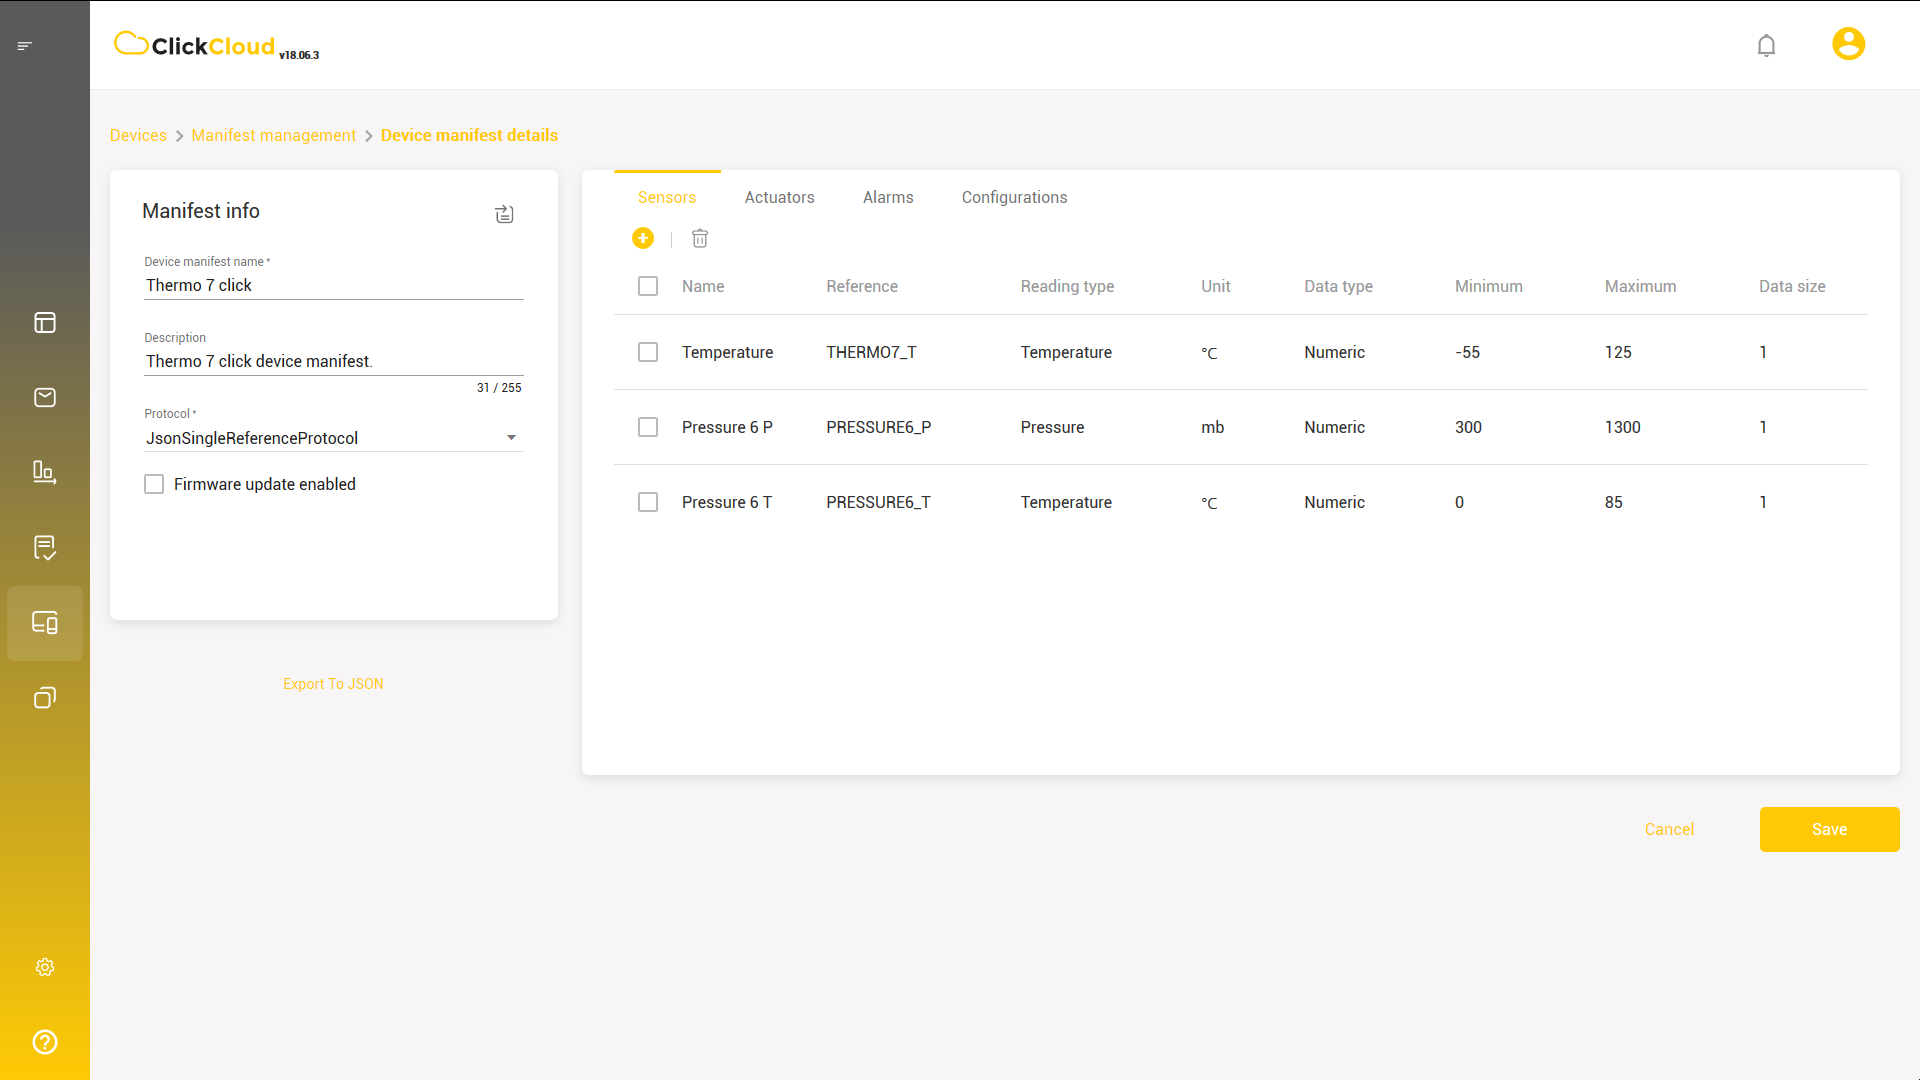
After you click Choose, a new screen with all data from the selected manifests is displayed.
- Write name of the merged manifest in Device manifest name field
- Click Save
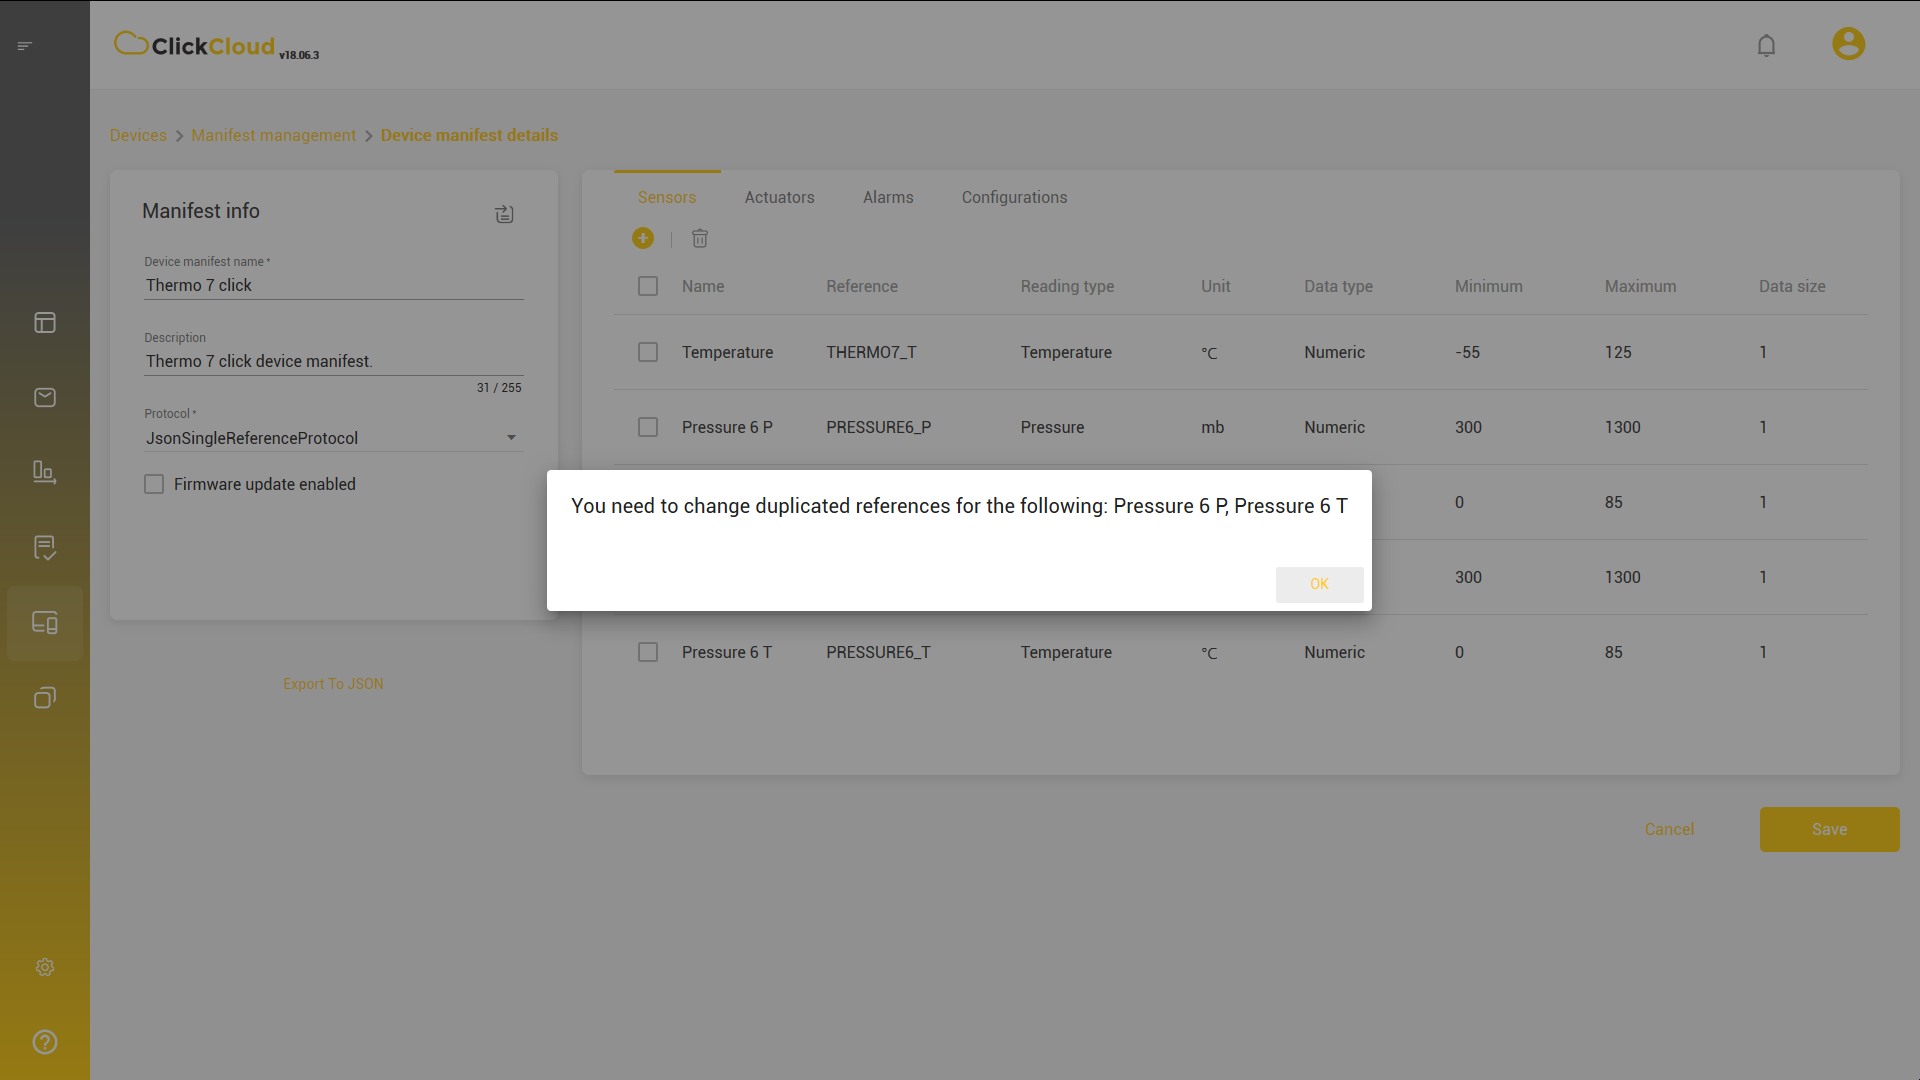
In case there are some duplicated references for the selected manifests, you will be asked to rename them in order to complete the action.
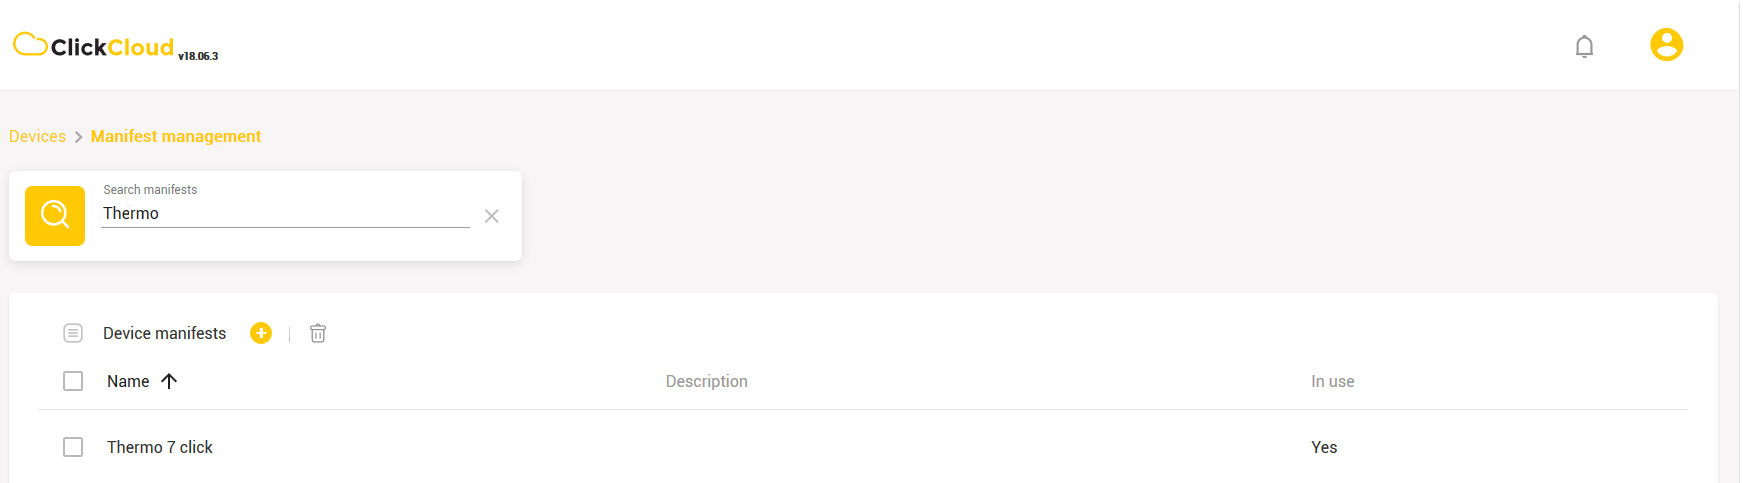
Newly imported manifest will be in Device manifest list along with other manifests and it can be easily found within Search manifest field.
Editing/Updating Device Manifest
Updating manifest means you can update the entire manifest: name, version, description, device type and protocol.
- Select one of the existing manifests
- Click on Edit device manifest
- Update desired field
Note: Manifest in use cannot be updated! Manifest can be updated only if there are no more devices using it.
Duplicate Manifest
On the top right in the details page of the specific device manifest, there is a Duplicate manifest button.
By clicking on it, you can duplicate the existing manifest.
A new window will pop up where you need to enter:
- Device manifest name (different than the original)
- Description and protocol
This action will create new device manifest already pre-populated with data from the previously opened one (sensors, actuators, alarms and specific configuration).
After you have made a duplicate, the new manifest can be freely edited. Each element can be changed, added or deleted (while the manifest is not in use).
Deleting Device Manifest
- Select one of the device manifests and click Delete
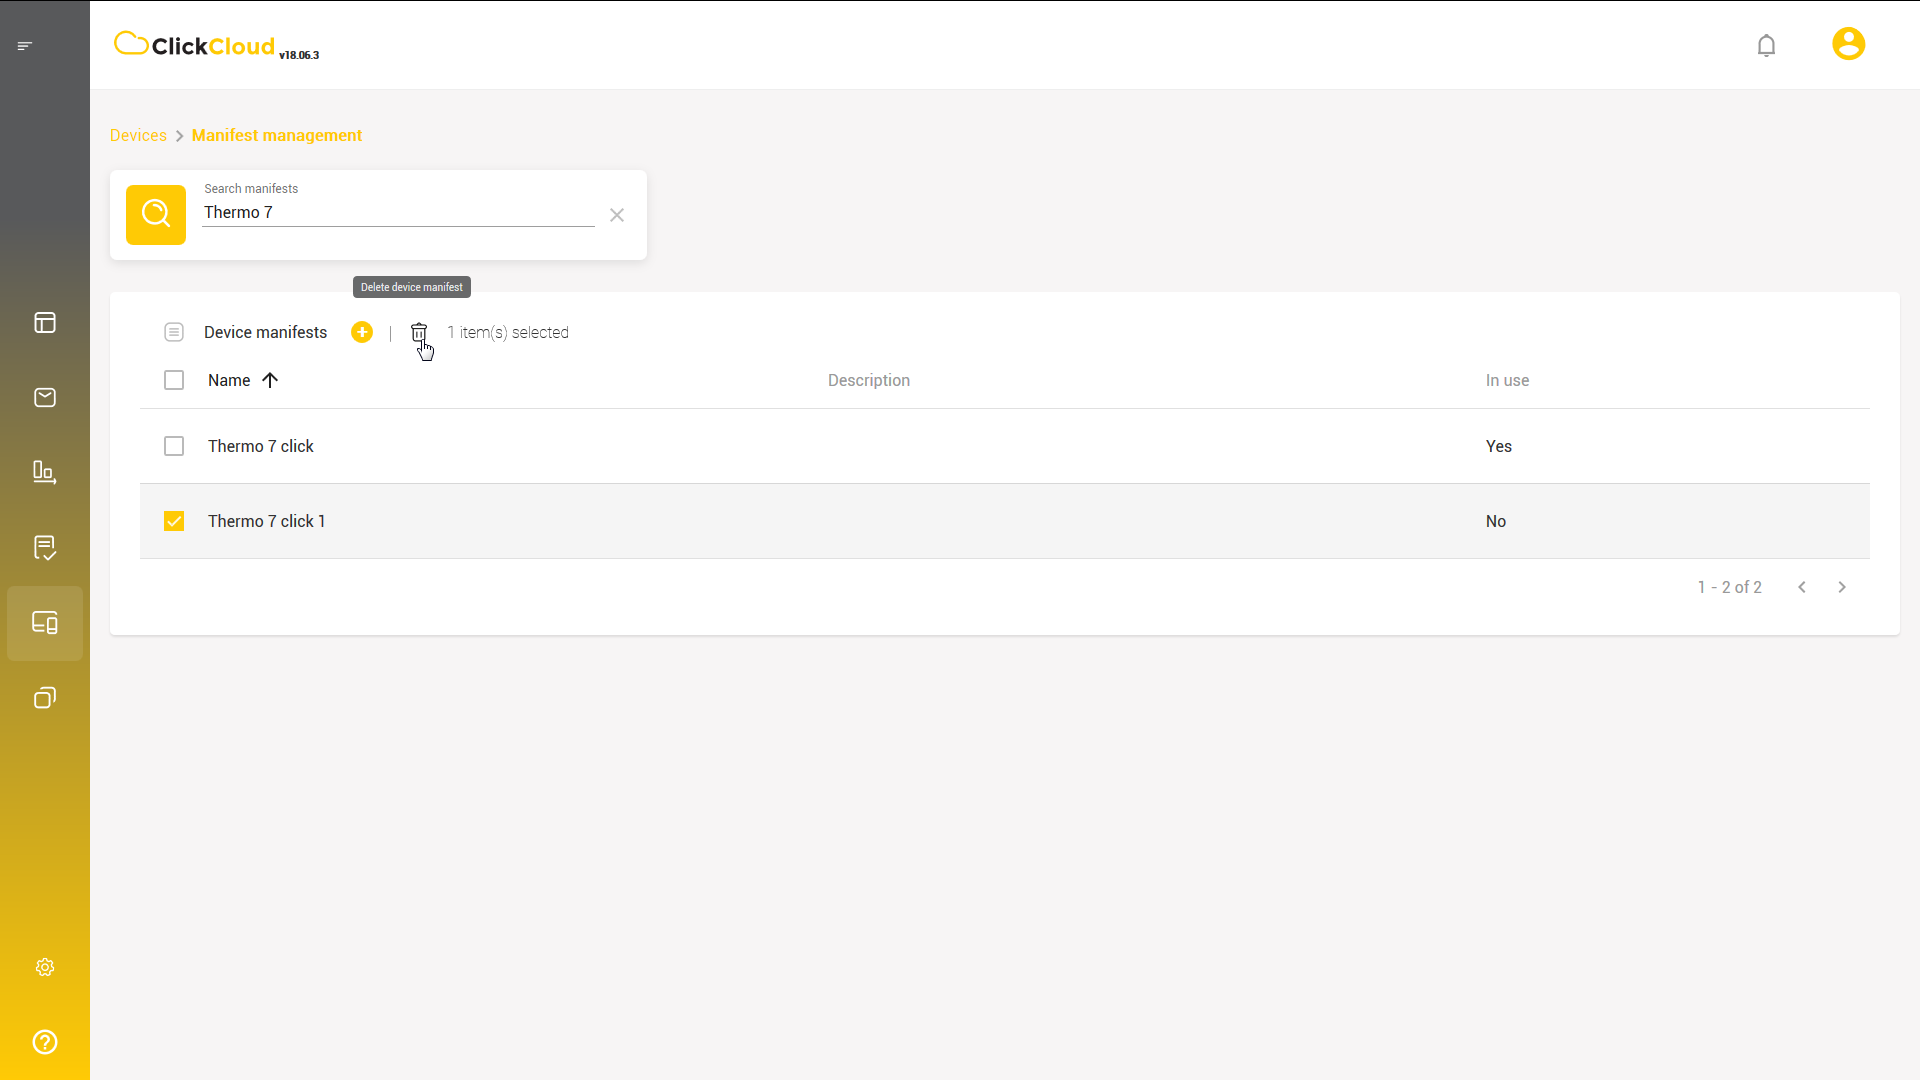
- Confirm deleting
Note: Manifest in use cannot be deleted! Manifest can be deleted only if there are no more devices using it.
Configuration
Apart from adding all the sensors, actuators, and alarms you have the possibility to remotely configure the device by following the same procedure. Device configuration consists of the set of parameters which will be sent from Platform to device. As a precondition for such configuration, device has to support use of these parameters. Otherwise this feature cannot be used. Click ![]() button and start adding configuration parameters:
button and start adding configuration parameters:
- Parameter name
- Description (giving more details about configuration parameter including meaning and unit if exists)
- Reference (unique parameter identifier for a device used as a contract with the Platform when exchanging data, meaning that device has to be configured to send the data with the same parameter reference, e.g. T)
- Data type (defines the type of data coming from the device. Depending on the data select one of the following: BOOLEAN, NUMERIC and STRING)
- Data size (represents the number of separated data values packed together which coming from the device in one message. If data size is more than 1, delimiter is used (symbol used to separate reading values, e.g. comma (,)))
- Click Create
- Minimum (value used for numeric data type validation only. Defines minimal valid value)
- Maximum (value used for numeric data type validation only. Defines maximal valid value)
- You have created your device configuration