


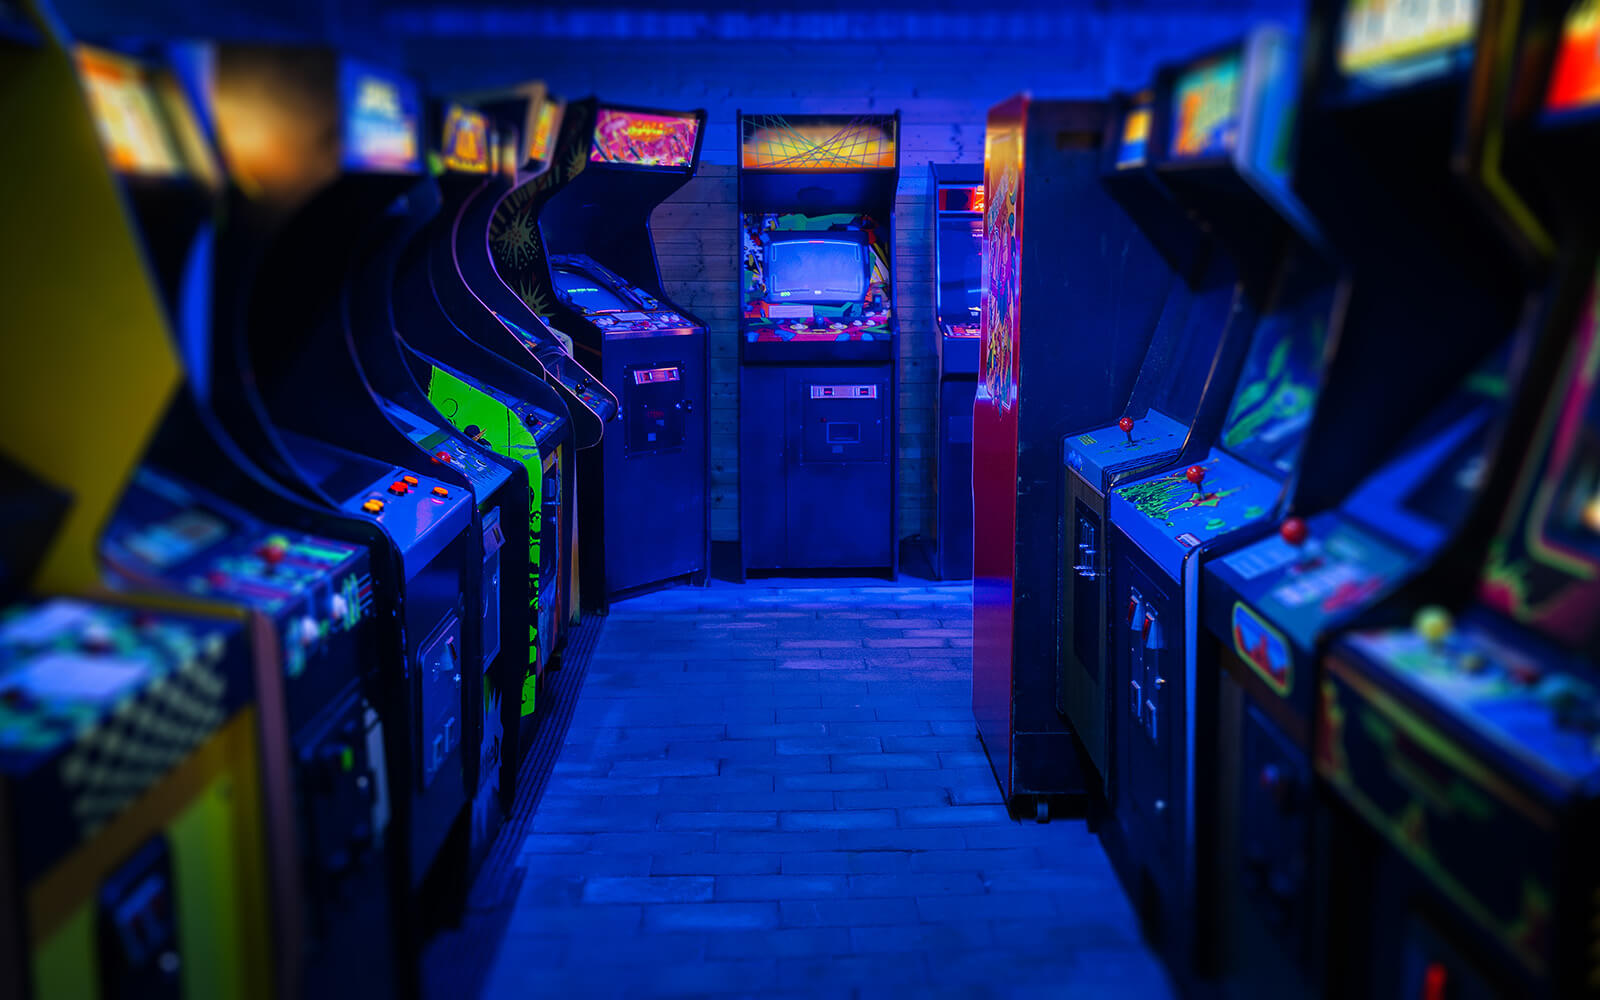
Raspberry Pi emulators open a world of retro gaming possibilities.
They let you relive classic games from consoles like NES and Sega Genesis. These emulators mimic the hardware of old gaming systems, bringing nostalgia to life.
Setting up a Raspberry Pi emulator is a rewarding project. It's a cost-effective way to create a retro gaming console. With the right tools, you can transform your Raspberry Pi into a gaming powerhouse.
Popular platforms like RetroPie, Lakka, and Recalbox make this process easier. Each offers unique features and supports a wide range of games. Whether you're a tech enthusiast or a beginner, Raspberry Pi emulators offer endless fun.
Dive into the world of Raspberry Pi arcade projects. Customize your setup with themes, controllers, and more. The Raspberry Pi community provides extensive support, making it easy to get started.
What Are Raspberry Pi Emulators?
Raspberry Pi emulators are software tools that recreate old gaming consoles. They mimic the hardware of systems like the SNES and Sega Genesis. This allows you to play their classic games on modern devices.
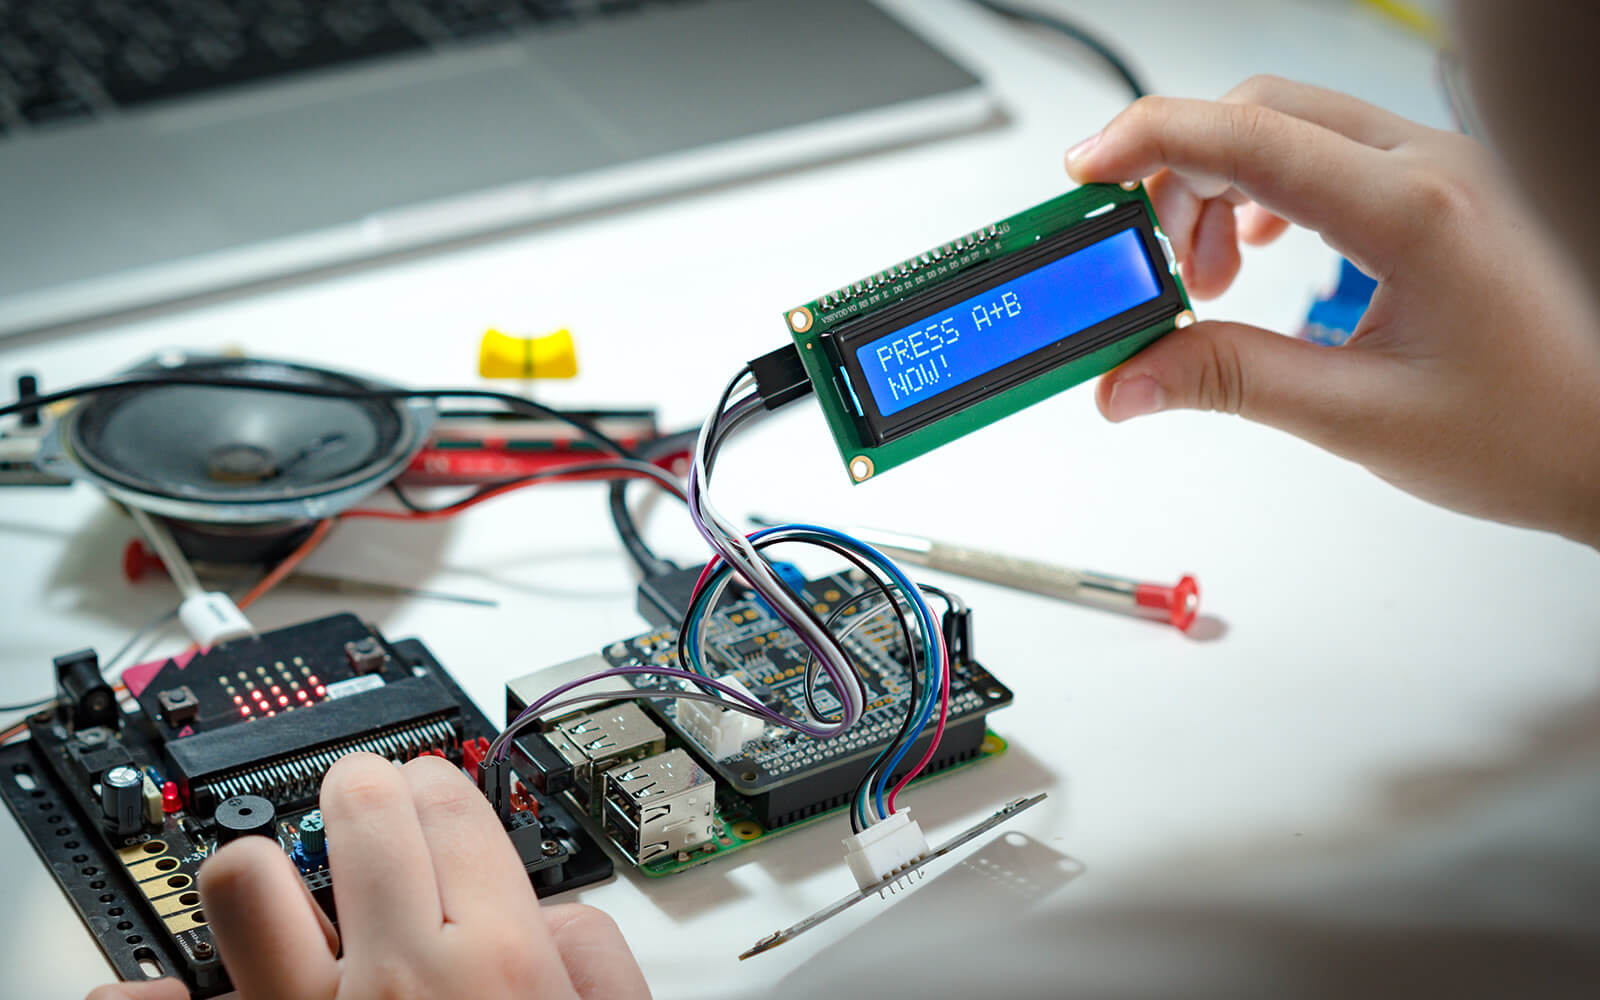
These emulators transform the Raspberry Pi into a versatile gaming machine. They are part of various Raspberry Pi projects and can be educational. Emulation teaches about computer architecture and programming.
Key points about Raspberry Pi emulators include:
- They replicate the functionality of vintage gaming consoles.
- Provide a platform to play a vast library of retro games.
- Are used in creating custom arcade cabinets and setups.
Emulators open doors to enjoyable and nostalgic gaming. They preserve gaming history on an accessible platform.
Why Use Emulators on Raspberry Pi?
Using emulators on Raspberry Pi offers numerous advantages. First, it is a cost-effective method for retro gaming. The Raspberry Pi is affordable yet powerful, making it ideal for these projects.
Another reason is flexibility. Emulators allow you to play games from different consoles on one device. This reduces clutter and enhances convenience.
Consider the benefits of emulating on Raspberry Pi:
- Cost-effective retro gaming experience.
- Access to games from various platforms.
- Compact and efficient setup for gaming.
The ability to run multiple systems on one device is appealing. It simplifies gaming and offers expansive entertainment options.
Choosing the Right Raspberry Pi Model and Accessories
Choosing the correct Raspberry Pi model is crucial for emulation projects. The Raspberry Pi 4 is highly recommended due to its superior performance. It handles demanding emulators with ease.
Accessories enhance the emulation experience significantly. A reliable power supply ensures stability during gameplay. Additionally, a microSD card with ample storage is necessary for storing games.
Consider these essential accessories for your setup:
- Robust power supply for consistent power.
- Large-capacity microSD card for space requirements.
- Heat sinks and fans for managing temperature.
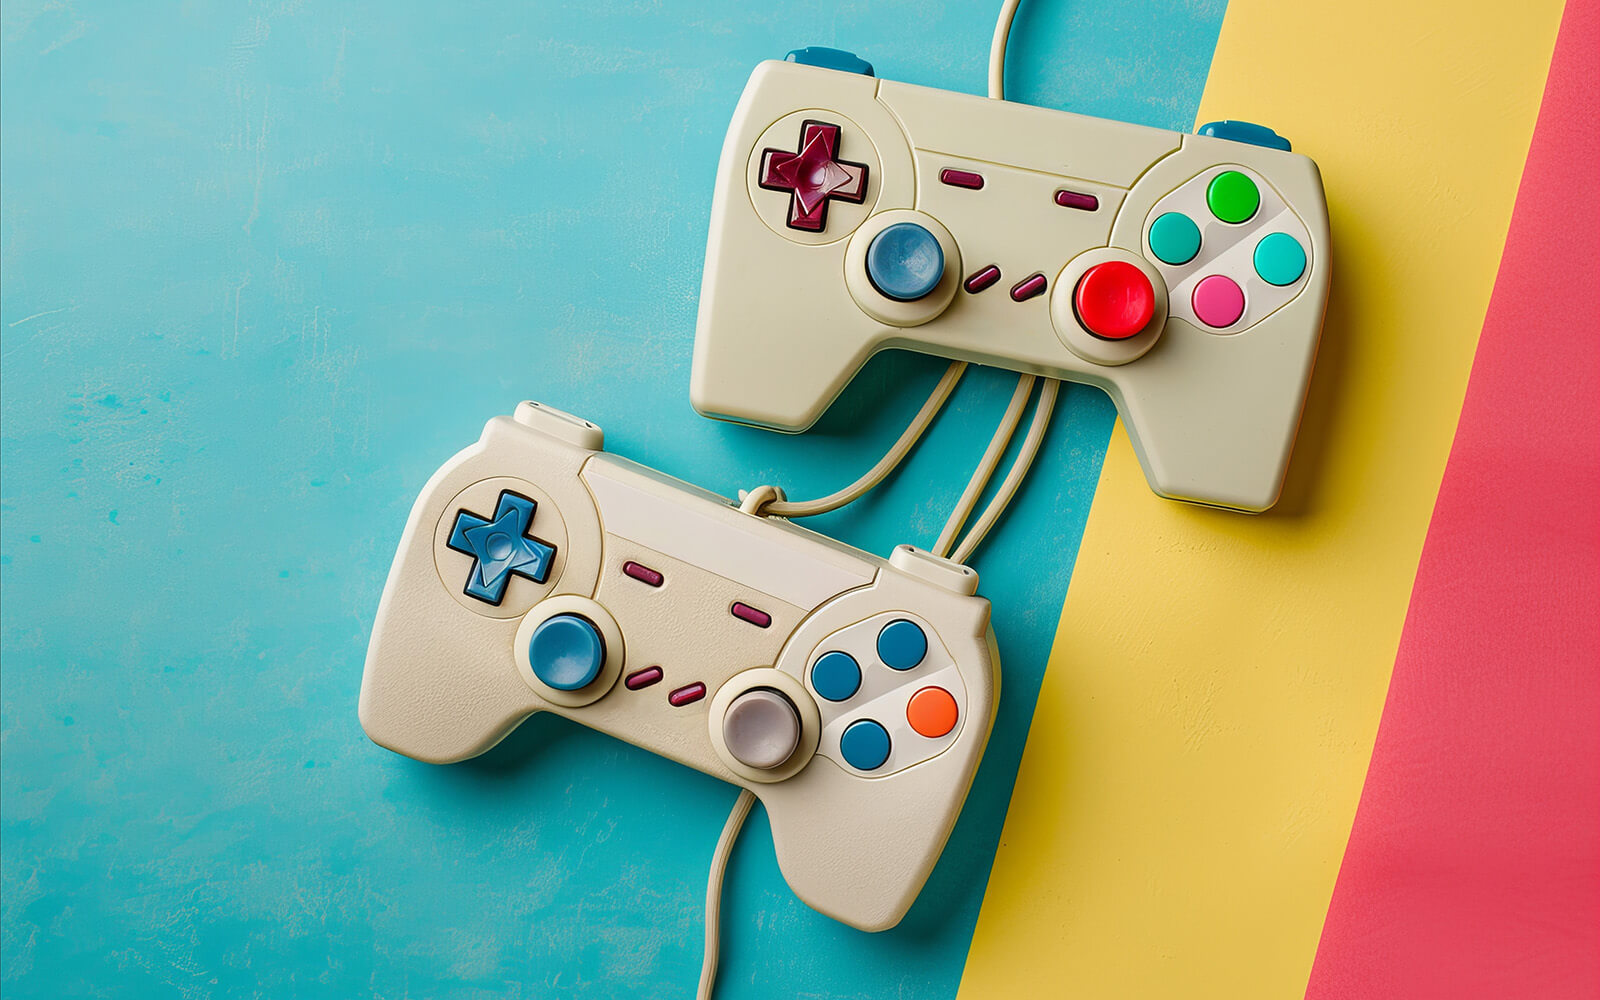
Game controllers are also essential for an authentic experience. Many controllers are compatible with Raspberry Pi. Select one that suits your gaming style.
Lastly, consider investing in a sturdy case. It safeguards your hardware and provides a neat appearance. It also aids in organizing your setup efficiently.
Popular Emulator Platforms: RetroPie, Lakka, and Recalbox
Raspberry Pi supports several emulator platforms. Three stand out for their features and ease of use: RetroPie, Lakka, and Recalbox. Each offers unique benefits to cater to different preferences.
RetroPie is favored by many enthusiasts. It provides a wide range of emulators and a customizable interface. Users can even personalize themes and add skins.
Lakka transforms a Raspberry Pi into a dedicated gaming console. Its lightweight design ensures smooth performance. Lakka is ideal for users seeking a simplified, streamlined experience.
Recalbox offers an intuitive setup, appealing to newcomers. Its user-friendly interface supports numerous gaming systems. It's perfect for those prioritizing ease of access and simplicity.
Consider these factors when choosing your platform:
- RetroPie for extensive customization and variety.
- Lakka for focused, efficient gaming.
- Recalbox for straightforward navigation and setup.
Selecting the right platform depends on your experience and objectives. Experiment with each to find the best fit. Your choice may influence your overall gaming enjoyment.
Step-by-Step Guide: Setting Up Your First Emulator
Setting up a Raspberry Pi emulator is simpler than it seems. Begin by downloading the emulator software. Choose RetroPie, Lakka, or Recalbox based on your preferences.
Next, prepare an SD card. Ensure it is compatible and sufficiently large, ideally 16GB or more. Use a computer to format the SD card to FAT32.
Install the downloaded emulator image. You will need software to flash the image onto the SD card. Etcher is a popular and user-friendly choice.
Insert the prepared SD card into your Raspberry Pi. Connect your Raspberry Pi to a display, power supply, and peripherals. Boot it up and follow on-screen instructions.
Configure your emulator settings. Customize controls, audio, and video settings as needed. If using RetroPie, navigate the EmulationStation interface to adjust settings.
Here's a quick list to guide you:
- Download the emulator software.
- Prepare and format the SD card.
- Flash the emulator image onto the SD card.
- Insert the SD card into Raspberry Pi.
- Connect peripherals and power up.
- Configure initial settings.
Your emulator setup is now complete. Adding games is the next exciting step. Enjoy exploring nostalgic classics on your newly configured Raspberry Pi setup.
Adding Games: Understanding ROMs and Legal Considerations
Games for emulators come in ROM files. ROMs are digital copies of classic game cartridges. You can find them online in various libraries.
It's important to consider the legal aspects when downloading ROMs. Generally, it's legal to use ROMs if you own the original game. Ensure you comply with copyright laws in your region.
Here are some quick tips for using ROMs legally:
- Own the original game copy.
- Avoid distributing ROMs to others.
- Check local copyright laws regularly.
By adhering to these guidelines, you can enjoy retro games legally. Enjoy bringing the past to life on your Raspberry Pi.
Enhancing Your Raspberry Pi Arcade Experience
Elevate your Raspberry Pi arcade setup with a few enhancements. Adding game controllers will vastly improve your gaming experience. You can use USB controllers or wireless options for flexibility.
Customizing your setup with unique cases or themes can add visual appeal. This personal touch can make gaming more engaging. Options range from retro-style cases to modern designs.
Consider the following enhancements to boost your arcade:
- Invest in high-quality controllers.
- Use HDMI cables for better display clarity.
- Experiment with LED lighting for ambiance.
These additions can make your arcade more immersive and enjoyable. They bring life to your Raspberry Pi projects, turning ideas into engaging setups.
Troubleshooting and Community Resources
Running into issues is common with Raspberry Pi projects. Luckily, the Raspberry Pi community is highly active and supportive. Many forums and tutorials provide guidance for troubleshooting problems.
Valuable resources include:
- Official Raspberry Pi forums
- Subreddits like r/RetroPie and r/raspberry_pi
- YouTube channels with tutorials
These platforms can help solve tricky challenges and improve your overall experience. Engaging with the community can be a rewarding part of your journey.
Inspiring Raspberry Pi Projects Beyond Emulation
Raspberry Pi offers more than just emulation. Its versatility opens doors to many intriguing projects. You can explore exciting areas that transform your Raspberry Pi into something unique.
Consider experimenting with projects like:
- Home automation systems
- DIY media centers
- Weather stations
Each project presents a chance to learn new skills. Whether for fun or education, the possibilities are vast.
Start Your Raspberry Pi Emulator Journey
Embarking on a Raspberry Pi emulator project can be both rewarding and enjoyable. With the right tools and guidance, you can relive classic gaming experiences.
Dive into this adventure today and transform your Raspberry Pi into a retro gaming masterpiece. Happy gaming!
From Emulation to Expansion: Click Boards™ for Raspberry Pi
Raspberry Pi emulators are a great way to relive classic games - but the Pi can do much more. With MIKROE Click boards™ and Raspberry Pi Click Shields™, you can expand your setup into real-world projects, from smart home control to sensor integration and more.


Level Up Your Pi: Real Projects with Click Boards™
Ready to go beyond gaming? Explore EmbeddedWiki for hands-on guides using Click boards™ with Raspberry Pi. Build everything from remote controls to automation systems - no complex wiring, just plug-and-play development.
ABOUT MIKROE
MIKROE is committed to changing the embedded electronics industry through the use of time-saving industry-standard hardware and software solutions. With unique concepts like Remote Access, One New Product/Day, Multi-Architectural IDE and most recently, the EmbeddedWiki™ platform with more than million ready-for-use projects, MIKROE combines its dev boards, compilers, smart displays, programmers/debuggers and 1850+ Click peripheral boards to dramatically cut development time. mikroBUS™; mikroSDK™; SiBRAIN™ and DISCON™ are open standards and mikroBUS only has been adopted by over 100 leading microcontroller companies and integrated on their development boards.
Your MIKROE


